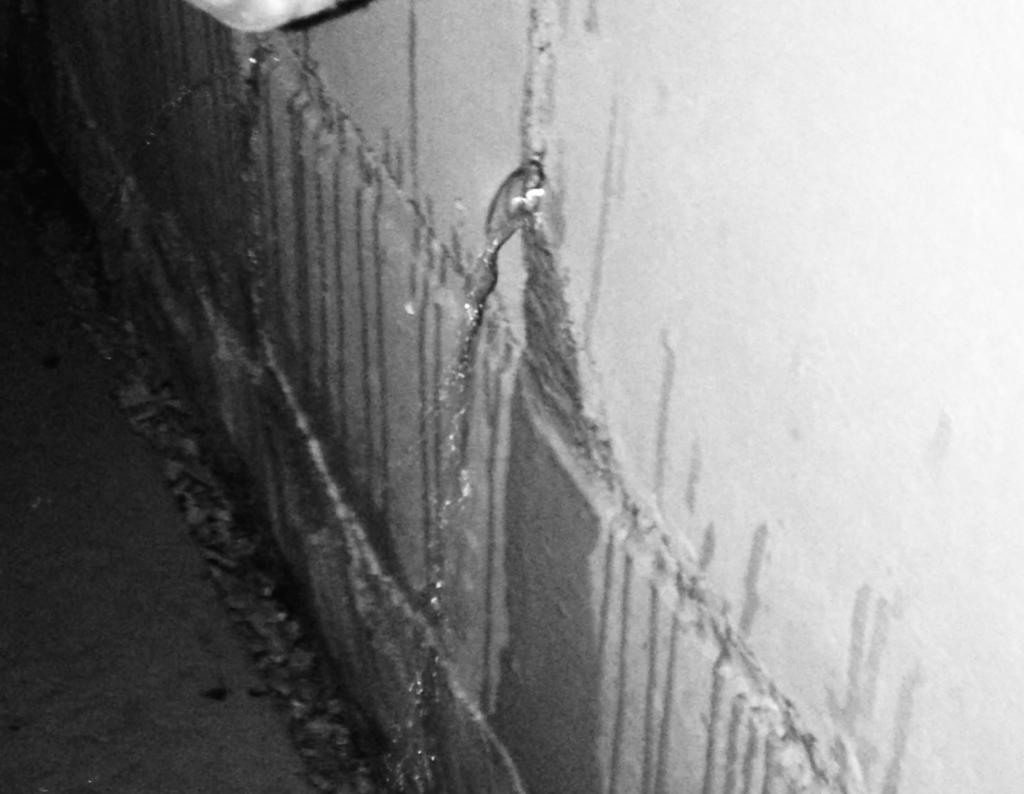
A Step by Step Guide for Leaky Basement Walls
A leaky basement wall can be a major headache, causing water damage, mold growth, and structural issues. While there are several approaches to fixing a leaky basement wall, addressing the problem from the inside often provides a more comprehensive and long-lasting solution. In this guide, we’ll walk you through the steps involved in fixing a leaky basement wall from the inside, ensuring a dry and healthy basement.
Step 1: Assess the Damage
Before starting any repairs, it’s crucial to accurately assess the extent of the damage. This includes:
- Identifying the source of the leak: Determine whether the leak is coming from outside the wall (e.g., through cracks or foundation issues) or from inside (e.g., due to plumbing leaks or condensation).
- Inspecting for signs of water damage: Look for water stains, mold growth, and structural damage.
- Checking for hydrostatic pressure: If the leak is caused by hydrostatic pressure (water pushing against the wall from outside), you may need to address the grading around your home or install a drainage system.
Step 2: Prepare the Area
Once you’ve assessed the damage, it’s time to prepare the area for repairs:
- Clear the area: Remove any furniture, belongings, or other obstructions from the basement.
- Turn off water and electricity: To prevent accidents and potential damage, shut off the water supply to the basement and disconnect any electrical outlets in the affected area.
- Ventilate the space: Open windows and doors to improve air circulation and help dry out the area.
Step 3: Address the Source of the Leak
The specific steps to address the source of the leak will depend on what you find during your assessment. Here are some common scenarios:
- Cracks in the foundation: If you find cracks in the foundation, you may need to consult with a professional to determine the best course of action. In some cases, the cracks can be repaired using hydraulic cement or epoxy.
- Plumbing leaks: If a plumbing leak is causing the basement wall to leak, you’ll need to locate and repair the leak. This may involve replacing pipes, tightening connections, or addressing other plumbing issues.
- Condensation: If condensation is causing the problem, improve ventilation in the basement and consider installing a dehumidifier to reduce moisture levels.
Step 4: Apply Waterproofing Treatment
Once you’ve addressed the source of the leak, you can apply a waterproofing treatment to the basement wall. There are several options available, including:
- Interior waterproofing: This involves applying a waterproof coating to the interior side of the basement wall. Common options include rubberized coatings, epoxy-based sealants, and hydraulic cement.
- French drain: A French drain is a perforated pipe surrounded by gravel that collects water and directs it away from the foundation. This is a popular option for addressing hydrostatic pressure.
- Basement waterproofing systems: Professional basement waterproofing companies offer comprehensive systems that can address a variety of issues, including hydrostatic pressure, foundation cracks, and plumbing leaks.
Step 5: Dry Out and Restore the Area
After applying the waterproofing treatment, it’s important to allow the area to dry out completely. Use fans and dehumidifiers to speed up the drying process. Once the area is dry, you can restore the basement to its original condition by painting, replacing flooring, and reinstalling furniture and belongings.
Conclusion
Fixing a leaky basement wall from the inside can be a challenging task, but it’s often a worthwhile investment. By following the steps outlined in this guide, you can effectively address the problem and prevent future water damage. If you’re unsure about any aspect of the repair process, it’s always a good idea to consult with a professional.

